Tutorial: Carving Stamps
Stamps are versatile & flexible design elements... they can add texture and visual interest to your journal pages, and they can also be utilitarian components to stamp things like the date or the number in a series. You can make a stamp design of almost anything! A monogram, the name of your blog, a pumpkin, a checklist, ducks, a symbol.
Dream up a design, carve it into an eraser or linoleum and create unique repeatable patterns for your journal & mixed media work
An introduction to eraser and linoleum stamp carving, including a video tutorial, ideas for patterns and using handmade stamps. Hand-carved stamps are mini-mark-making devices that add personality, a touch of YOU, a unique twist, to your art journal pages and index card artwork.
Ideas for designing hand-carved stamps
a) Echo a theme, motif or symbol that you often explore in your work.
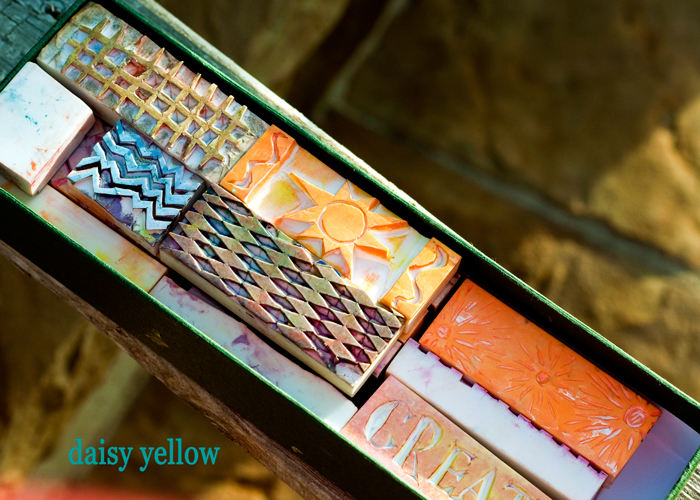
b) Make a collection of tiny stamps in a theme. For example, you could create spoons, forks, strawberries and garlic for a family recipe book. A mini Holga camera, polaroid frame, negative strip for a photography book.
c) The portions of the eraser or linocutting material that you carve away are the portions that will not stamp. The parts you don't carve are what make the imprint.
d) Think in terms of positive & negative space. You can either carve the shape you want to imprint on your paper or the reverse of that shape.
e) The image will imprint in reverse — the mirror image. So while an uppercase A is the same in reverse, the lowercase a is not. I make this mistake quite often and wind up carving an extra stamp!
f) Stamp any surface that you can paint — for example, watercolor paper, index cards, old vintage book pages, journal covers, fabric, art journal pages, envelopes, etc.

Ideas for using hand-carved stamps
a) Stamp postal envelopes & make mail art with one-of-a-kind hand-carved stamps.
b) Imprint thank you notes, gift tags, packaging, or labels with a monogram, name, blog, company or logo.
c) Embellish page corners + photo corners with corner, L- or V-shaped, ivy or flourishes as well as frames.
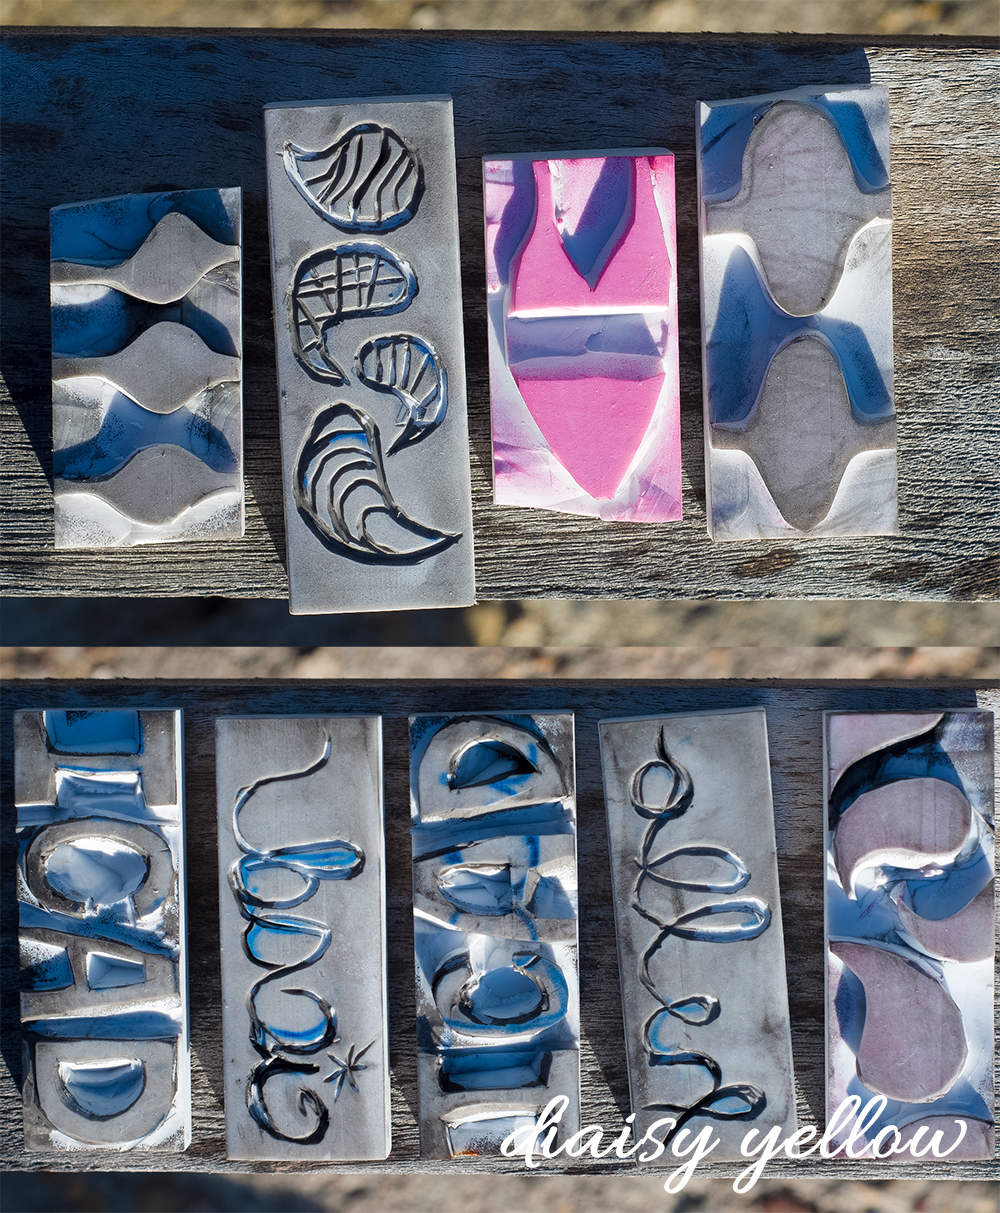
d) Design a one-of-a-kind stamp, a little image like a bird or flower.
e) Design an abstract pattern that can be combined with other shapes to create a line of shapes, a repeating pattern, or a starburst.
f) Stamp a page edge/margin with long narrow stamp to form a border or frame.
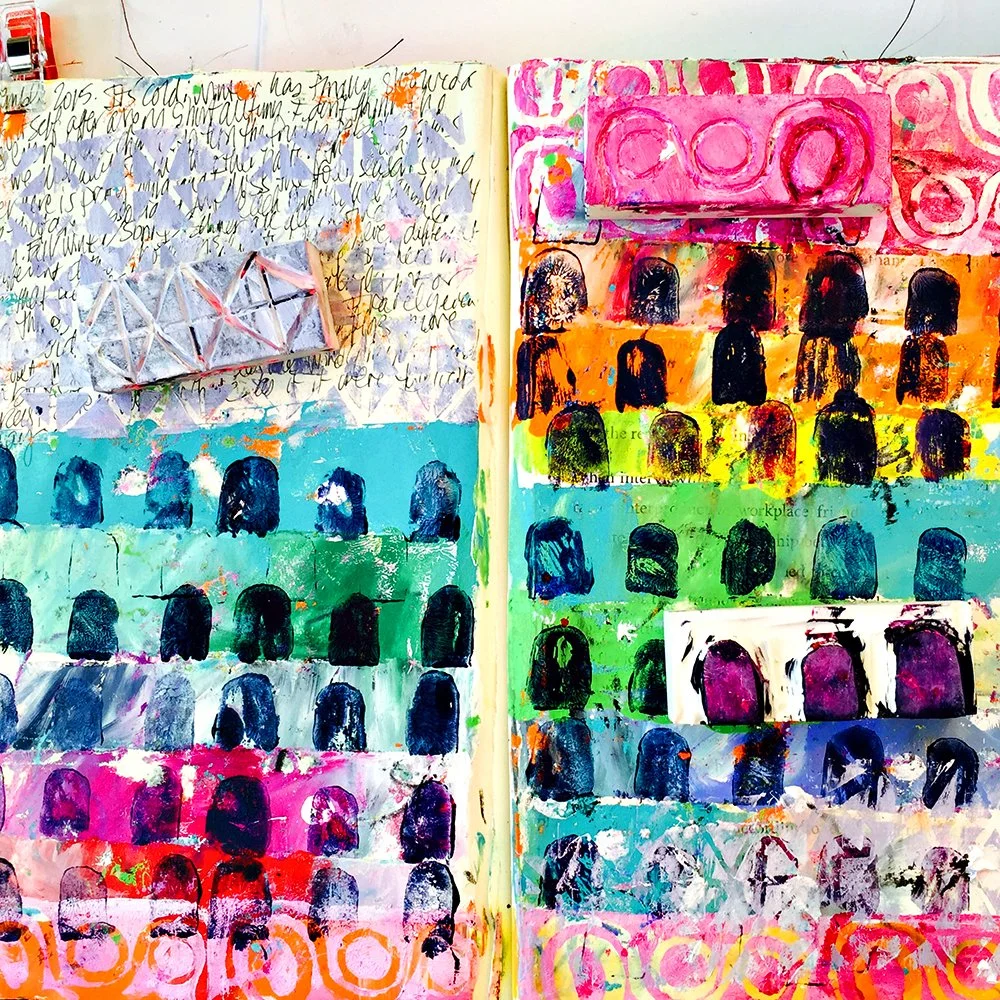
g) Try using the same stamp with different colored inks in overlapping layers.
h) Vary the amount of stamping ink or paint to give each individual imprint a different look.
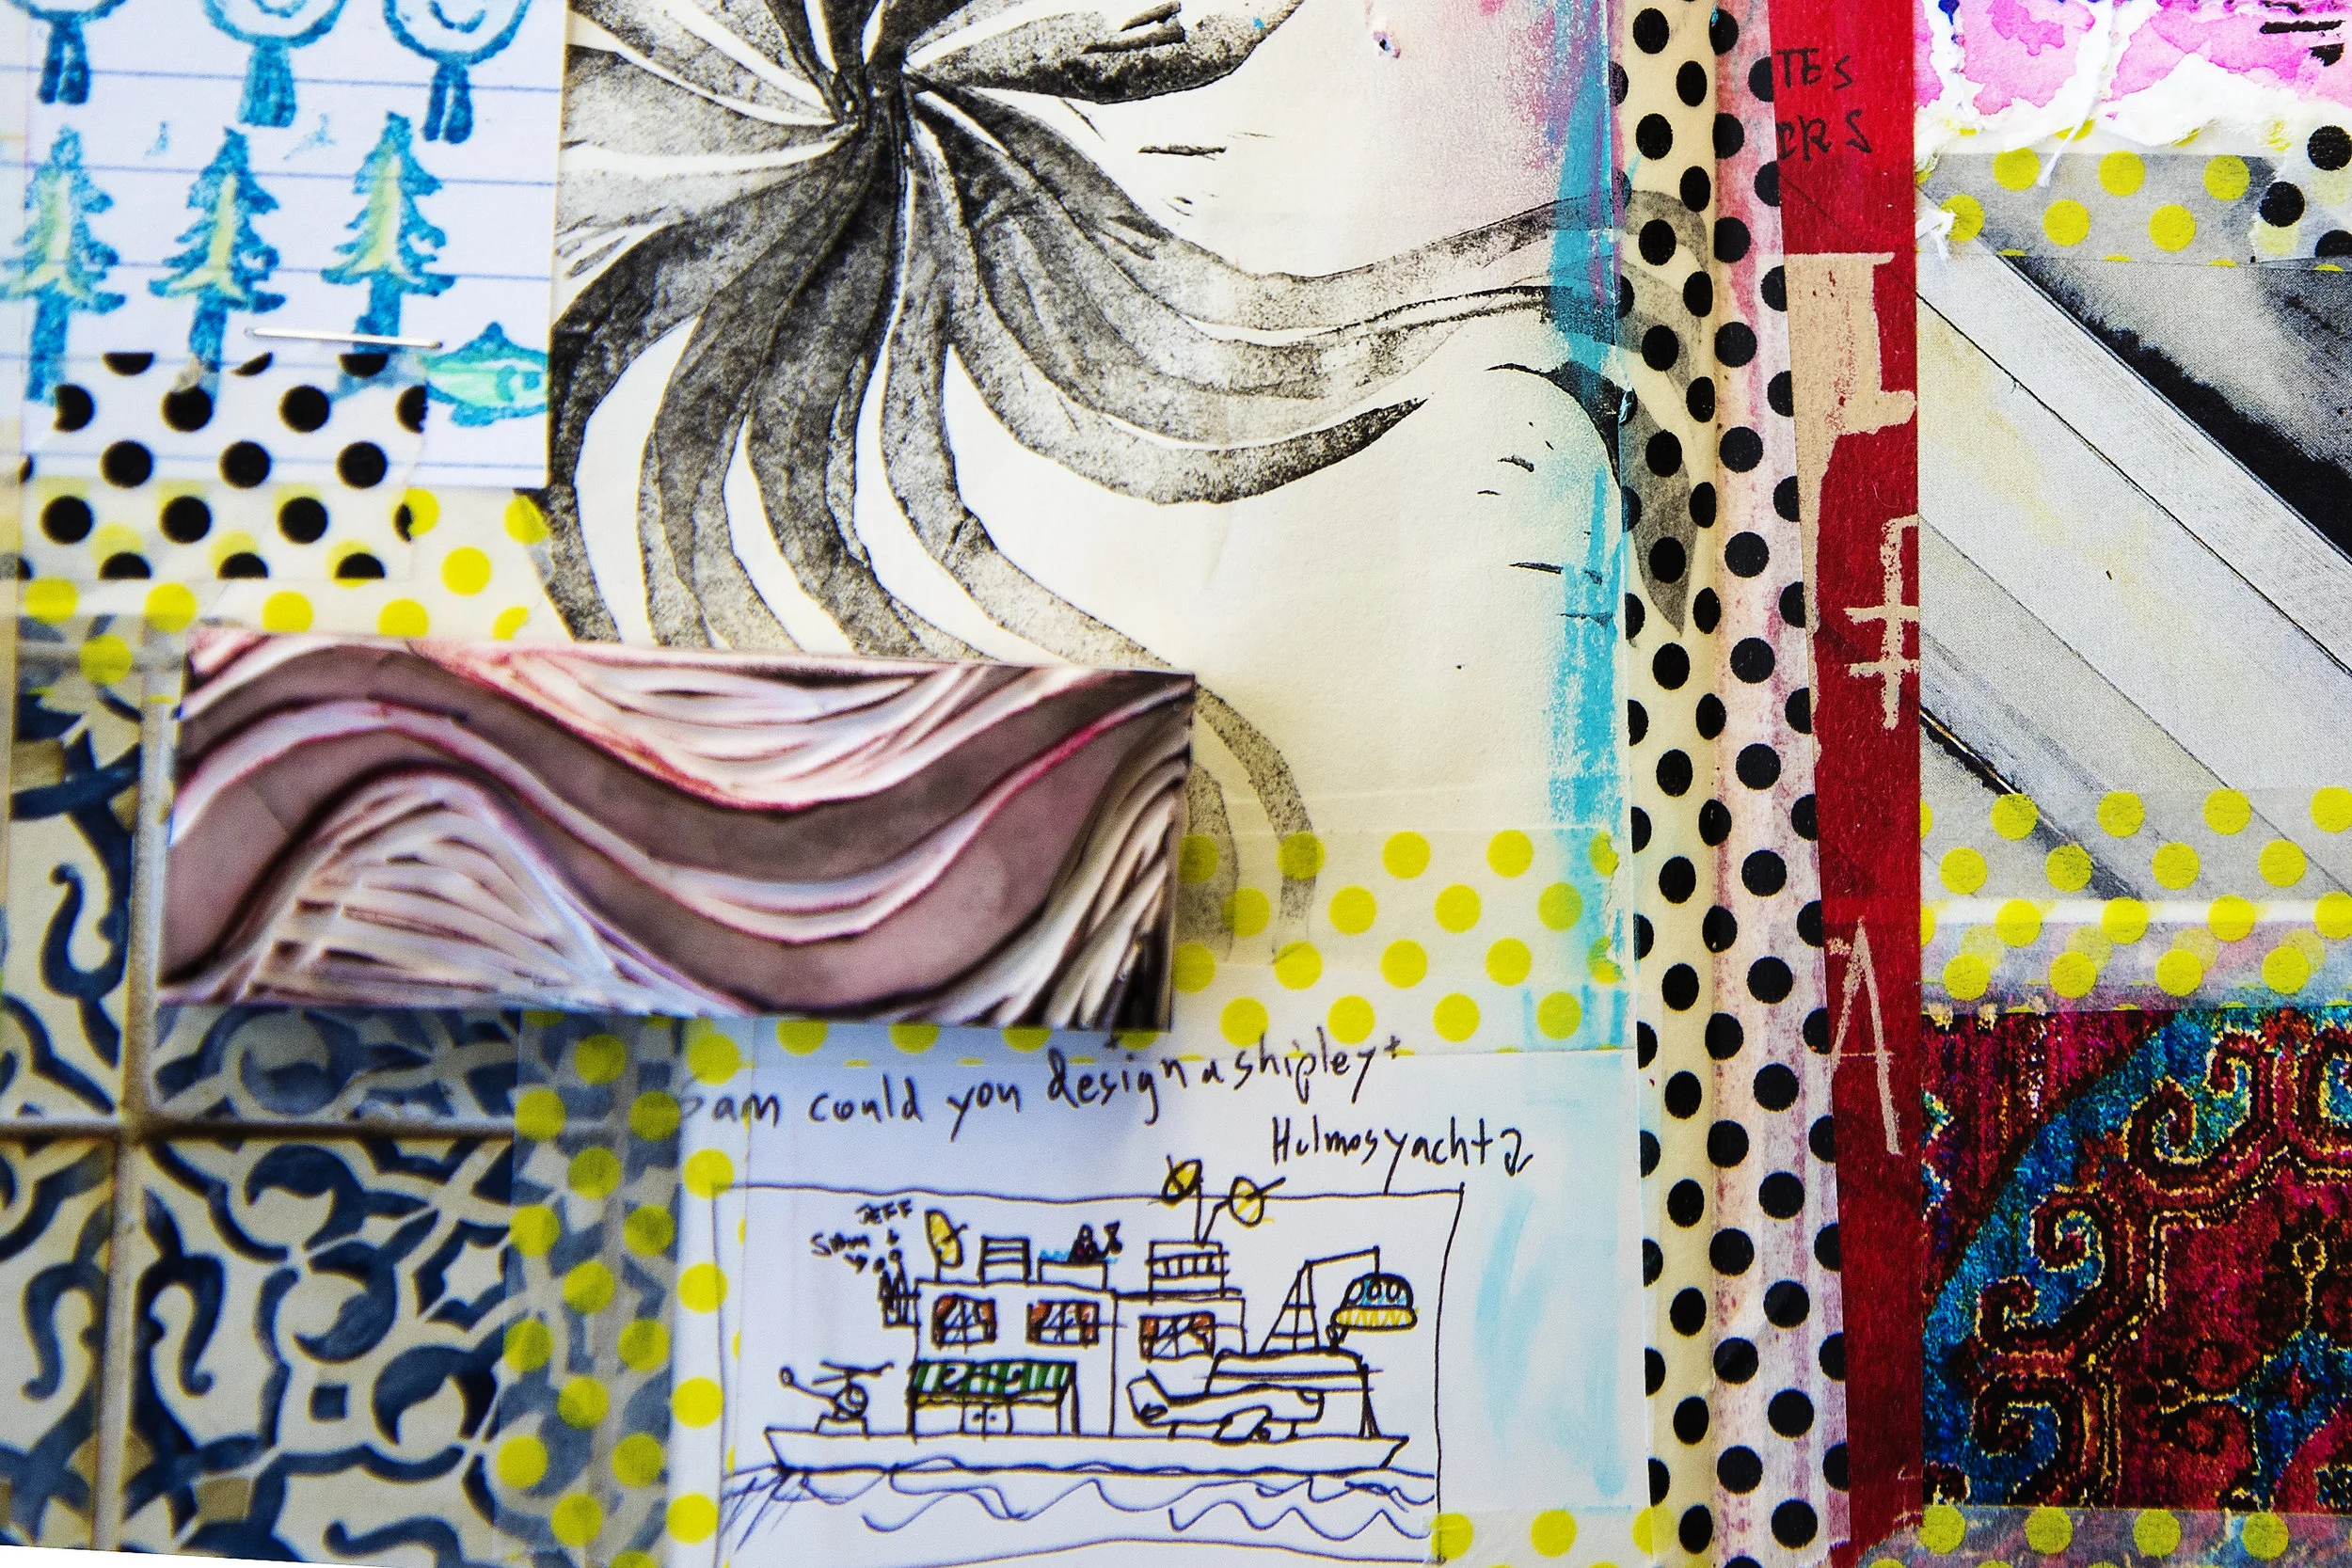
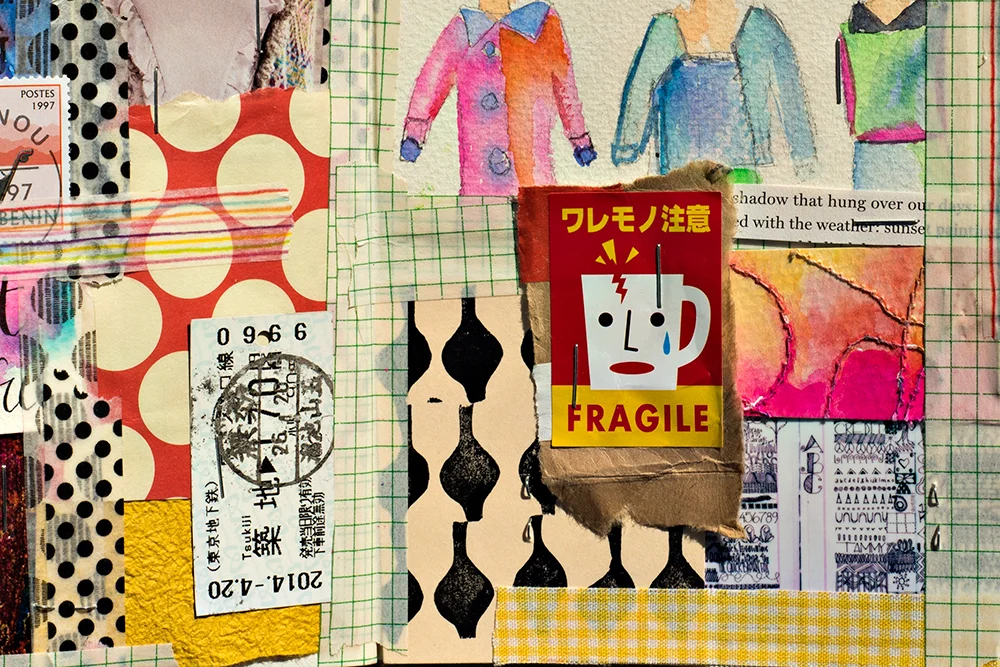
i) Add visual interest to collages with irregular surfaces; each imprint is captured in a different way and doesn't leave marks on all layers.
j) Use your stamps on fabric too!
k) Try making imprints with fluid acrylic paint or gesso for a twist.
l) On dark backgrounds, white/silver/pastel stamping inks really POP.
Materials
Pentel erasers. You can get the Pentel Hi-Polymer erasers I'm using for about $1/each. I find them in the states at Target. Yes, you can get cheaper erasers but -- not worth the savings! They crumble and are more difficult to carve - but also start peeling and disintegrating after a year or two in storage. Although stamps carved into linocutting material will last longer, I am sticking with erasers as my stamping material - easier all-around for me and I like the ability to make instant repeats! Plus they are SO darned CUTE.
The eraser stamps that I carved many years ago are still intact, but they won't last forever! Treat your stamps gently.
Speedball Linoleum Cutters. Whether you are carving erasers or lino material, you'll need something to make those marks! I use the Speedball Lino Set No. 1 which includes one holder, more than enough to carve all sorts of stuff for many years. If you are carving something buttery soft like erasers, you can stick the cutting nib into a calligraphy or dip pen holder. For more leverage, use the Speedball holder which has a sturdier grip. For straight lines, you can use an x-acto knife. And obviously these tools are sharp -- they can slip while you are working so remember to cut so that the directional path of the tool goes away from your body and not towards your other hand.

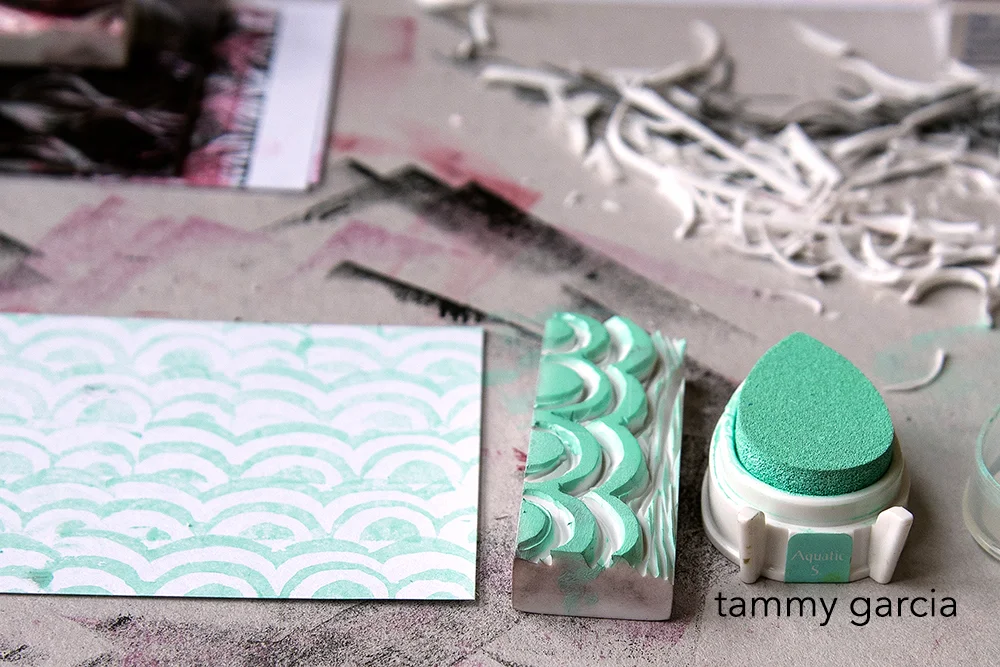
Stamping Ink
Colorbox Pigment Ink Pads work great for stamping - lush colors! For pearlescent colors, I like Brilliance ink pads by Tsukineko.
Linocutting Material
Designs carved in lino materials will last much longer and will stay crisp & defined. Unfortunately I've not found the perfect linocutting material!
PS >>> The linocutting material I used in the video was super difficult to carve (Jack Richeson Easy Cut Lino). And Speedball Speedy Cut crumbled and did not last.


Resources!
a) Great info about making your own stamps at Lime Green News.
b) Stamp carving tutorial for letter boxing at Atlas Quest, plus stamping tips.
c) At Balzer Designs, stamp carving ideas galore. Including carve an entire alphabet and a post about stamping in your art journal.
d) Ideas for tiny stamps at Geninne's Art Blog.
e) Detailed tips about stamp carving.